
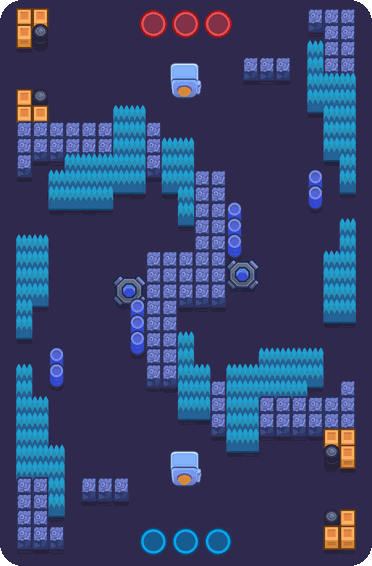
Eating Good! Stats & Draft Guide
Drafting on Eating Good! is about more than choosing the highest-ranked Brawler overall. The map layout, mode, range and open enemy picks determine which options are actually safe.
Measured results on Eating Good!
We have no Ranked battles on Eating Good! in our current statistics window, so this page shows the coaches' view only. Win rates, pick rates and draft verdicts per brawler appear here as soon as top players play Eating Good! in Ranked again.
The coaches' view on Eating Good!
The coaching model's view of Eating Good!, next to the measured numbers above. When the two disagree, trust the one with more matches behind it.
The coaching model has no map-specific notes for Eating Good! yet. Use the Heist mode ranking next to the measured numbers above.
Mode context
Eating Good! is a Heist map. Read the mode guide for the win condition and role requirements, then apply the map-specific picks above.
Other Heist maps
Same mode, different layout. Compare before you build your Heist pool, or start from the Heist mode guide.
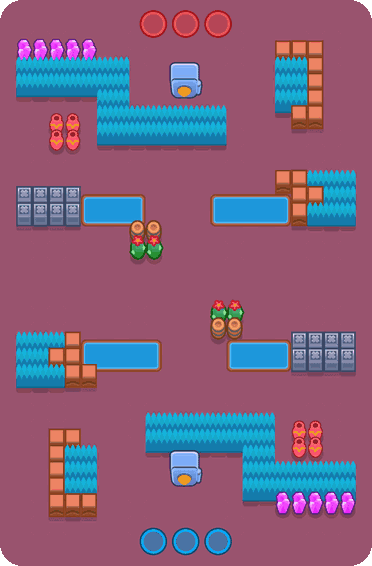 Safe ZoneHeist · mixed layout · picks and win rates
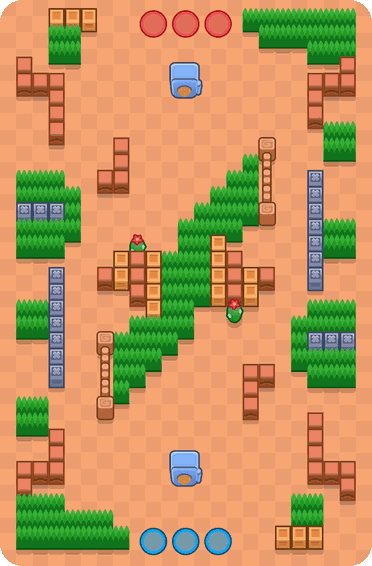 Hot PotatoHeist · closed layout · picks and win rates
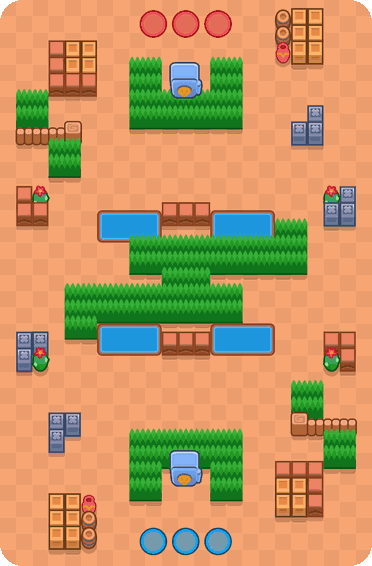 Kaboom CanyonHeist · closed layout · picks and win rates
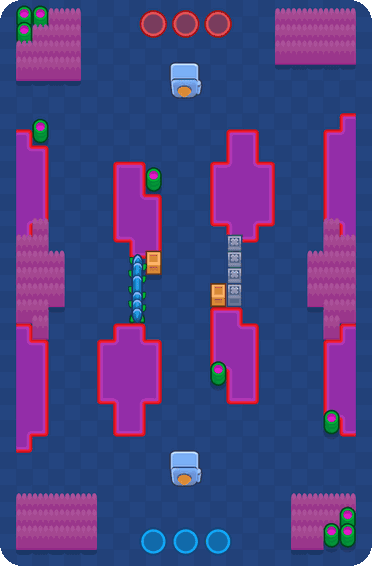 Bridge Too FarHeist · picks and win ratesSafe(r) ZoneHeist · limited data
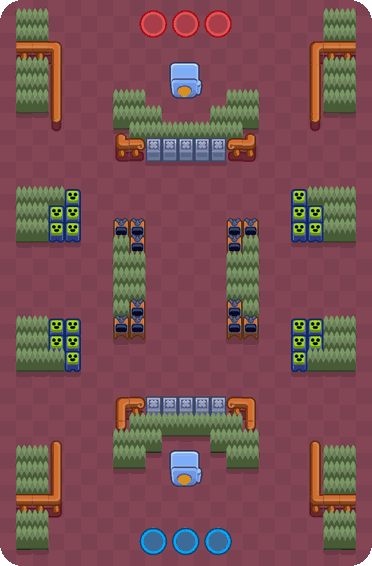 Pit StopHeist · limited data
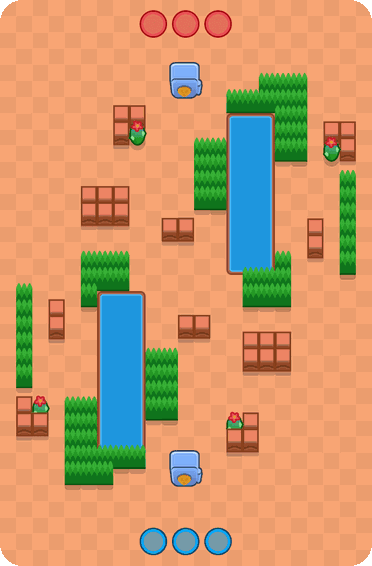 Hot TubsHeist · limited data
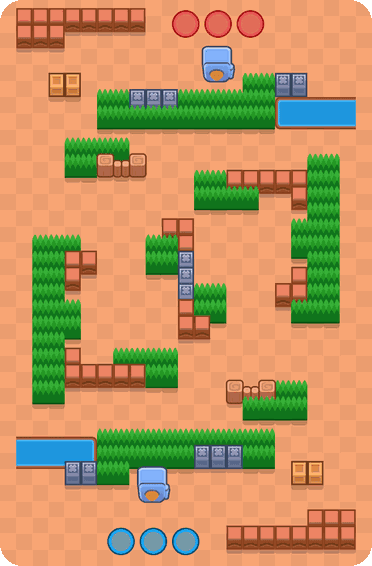 Photic DoomHeist · limited data
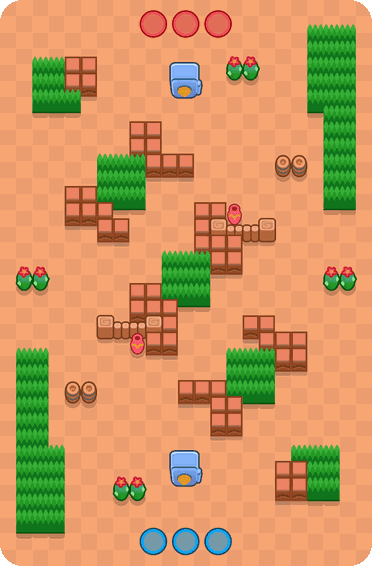 QuintillionHeist · limited data
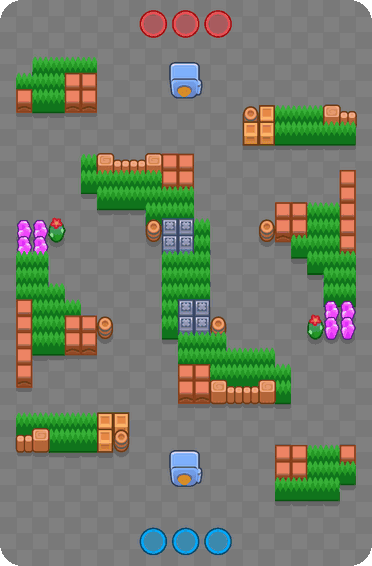 JednaHeist · limited data
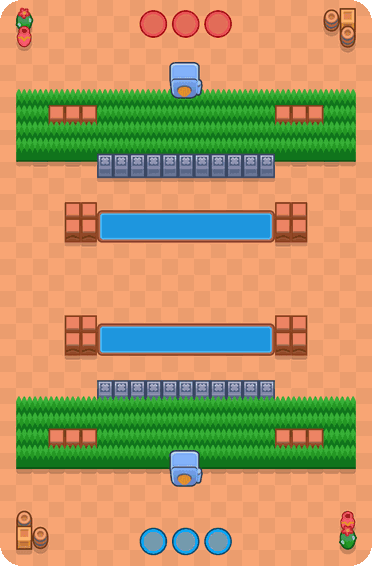 GG 2.0Heist · limited data
Data confidence
We have no measured Ranked battles on Eating Good! in the current window, so this page rests on the coaching model alone. This page is intentionally not indexed until Eating Good! has enough data to say something a general tier list does not already tell you.